- About MTN
Would you like to stay up to date on the latest MTN world news? Products, graffiti, murals, festivals, art and much more.


Return Building a Pool Table from Scratch with MTN WEPRO
We wanted a pool table in our office, but the idea didn’t really win over our superiors… so we decided to build it ourselves. The project would serve to showcase the usefulness of some WEPRO products and document the whole adventure in a YouTube project.
Here we explain the entire process of this real project, with a real result. We haven’t been fired, and the table is still in the office… who knows for how long.
On the internet, you can find plenty of tutorials and content explaining how to build a pool table, from the most professional versions to the simplest ones. After a bit of research, we gathered some ideas and got to work.
As expected, the woodworking was the longest and most challenging part of the process, but it basically breaks down into two elements: the support structure and the playing surface.
The support structure is essentially like a table, with reinforced legs to hold the cross beams and a central support panel. Thicker beams helped give the structure extra strength.
As for the tabletop, the hardest part was undoubtedly calculating the exact placement of the pool pockets, taking into account that they would need to align properly with the rail openings placed on top.
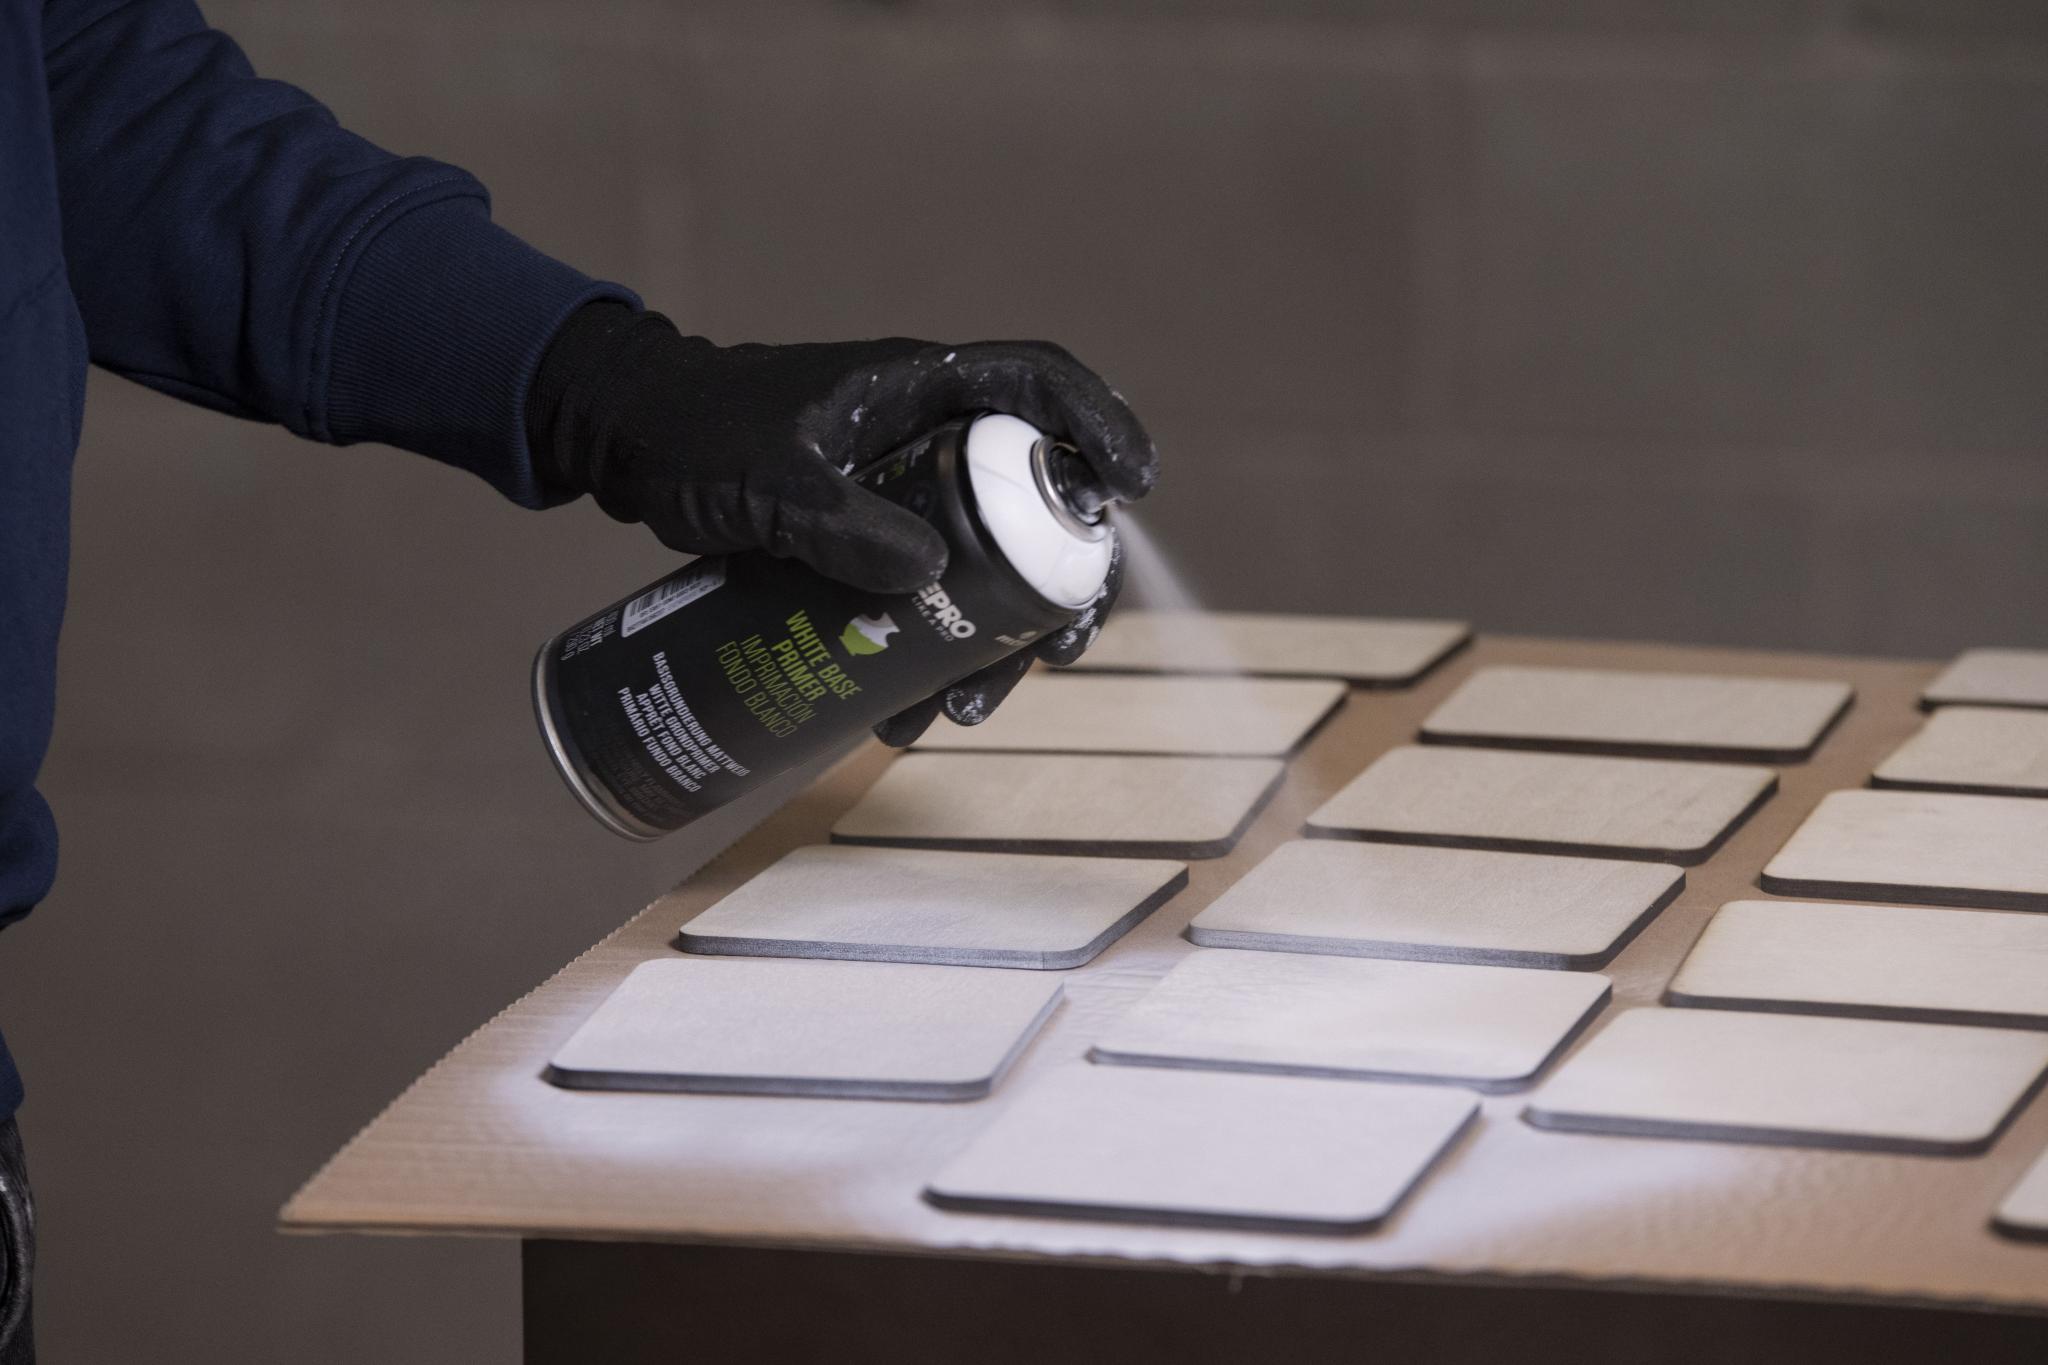
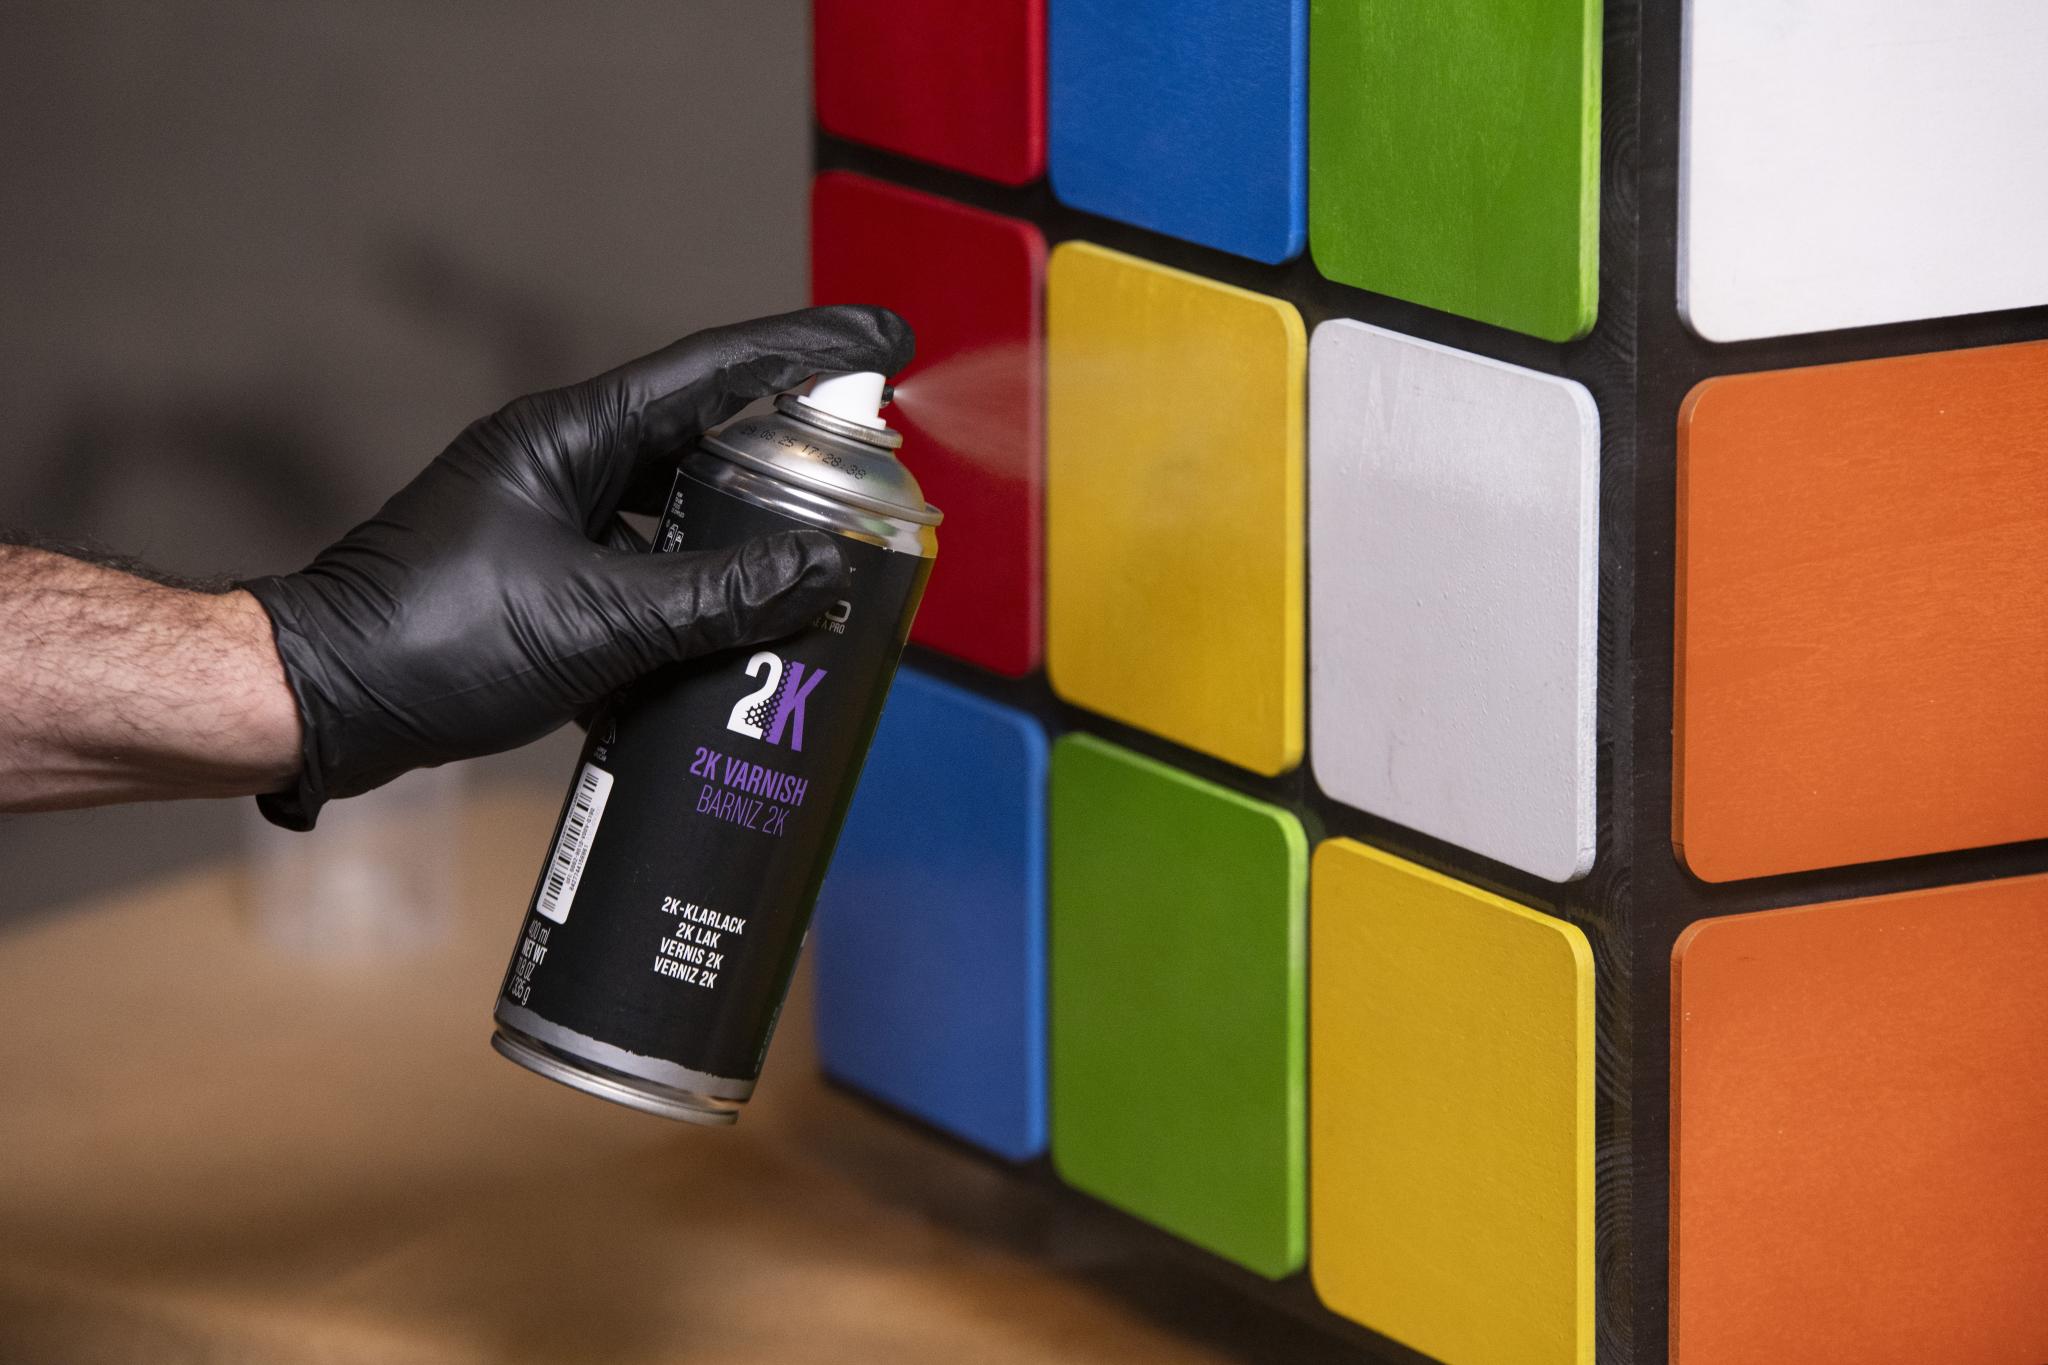
Since we used solid pine wood, we applied WEPRO Synthetic Varnish to protect the material, choosing the glossy finish.
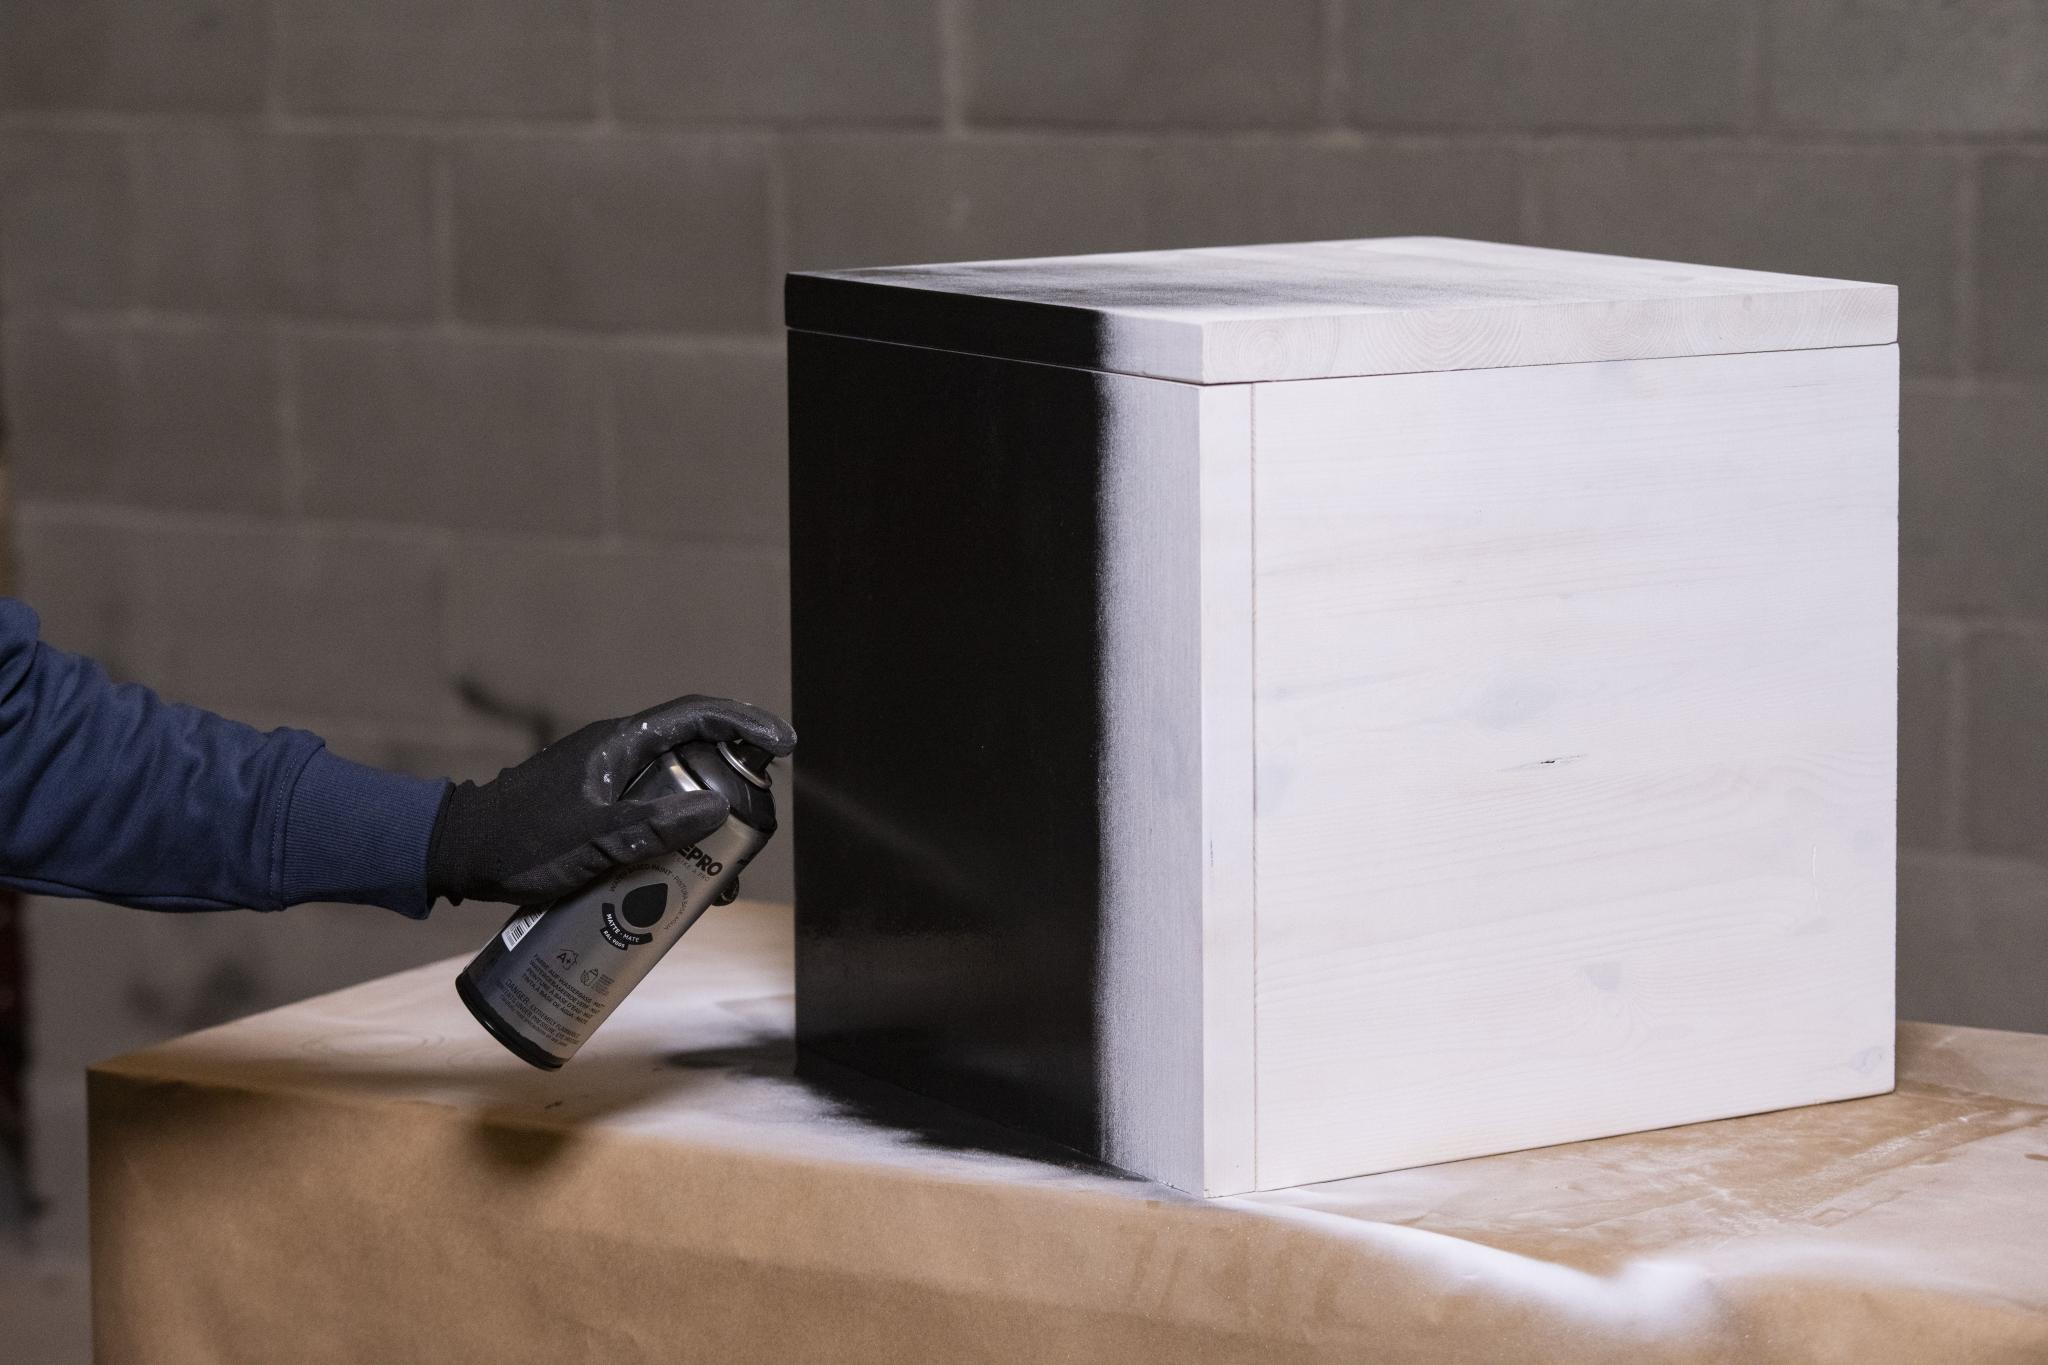
We upholstered the playing surface using WEPRO Contact Adhesive, applying it only to the wood surface to prevent the fabric from becoming oversaturated and causing stains.
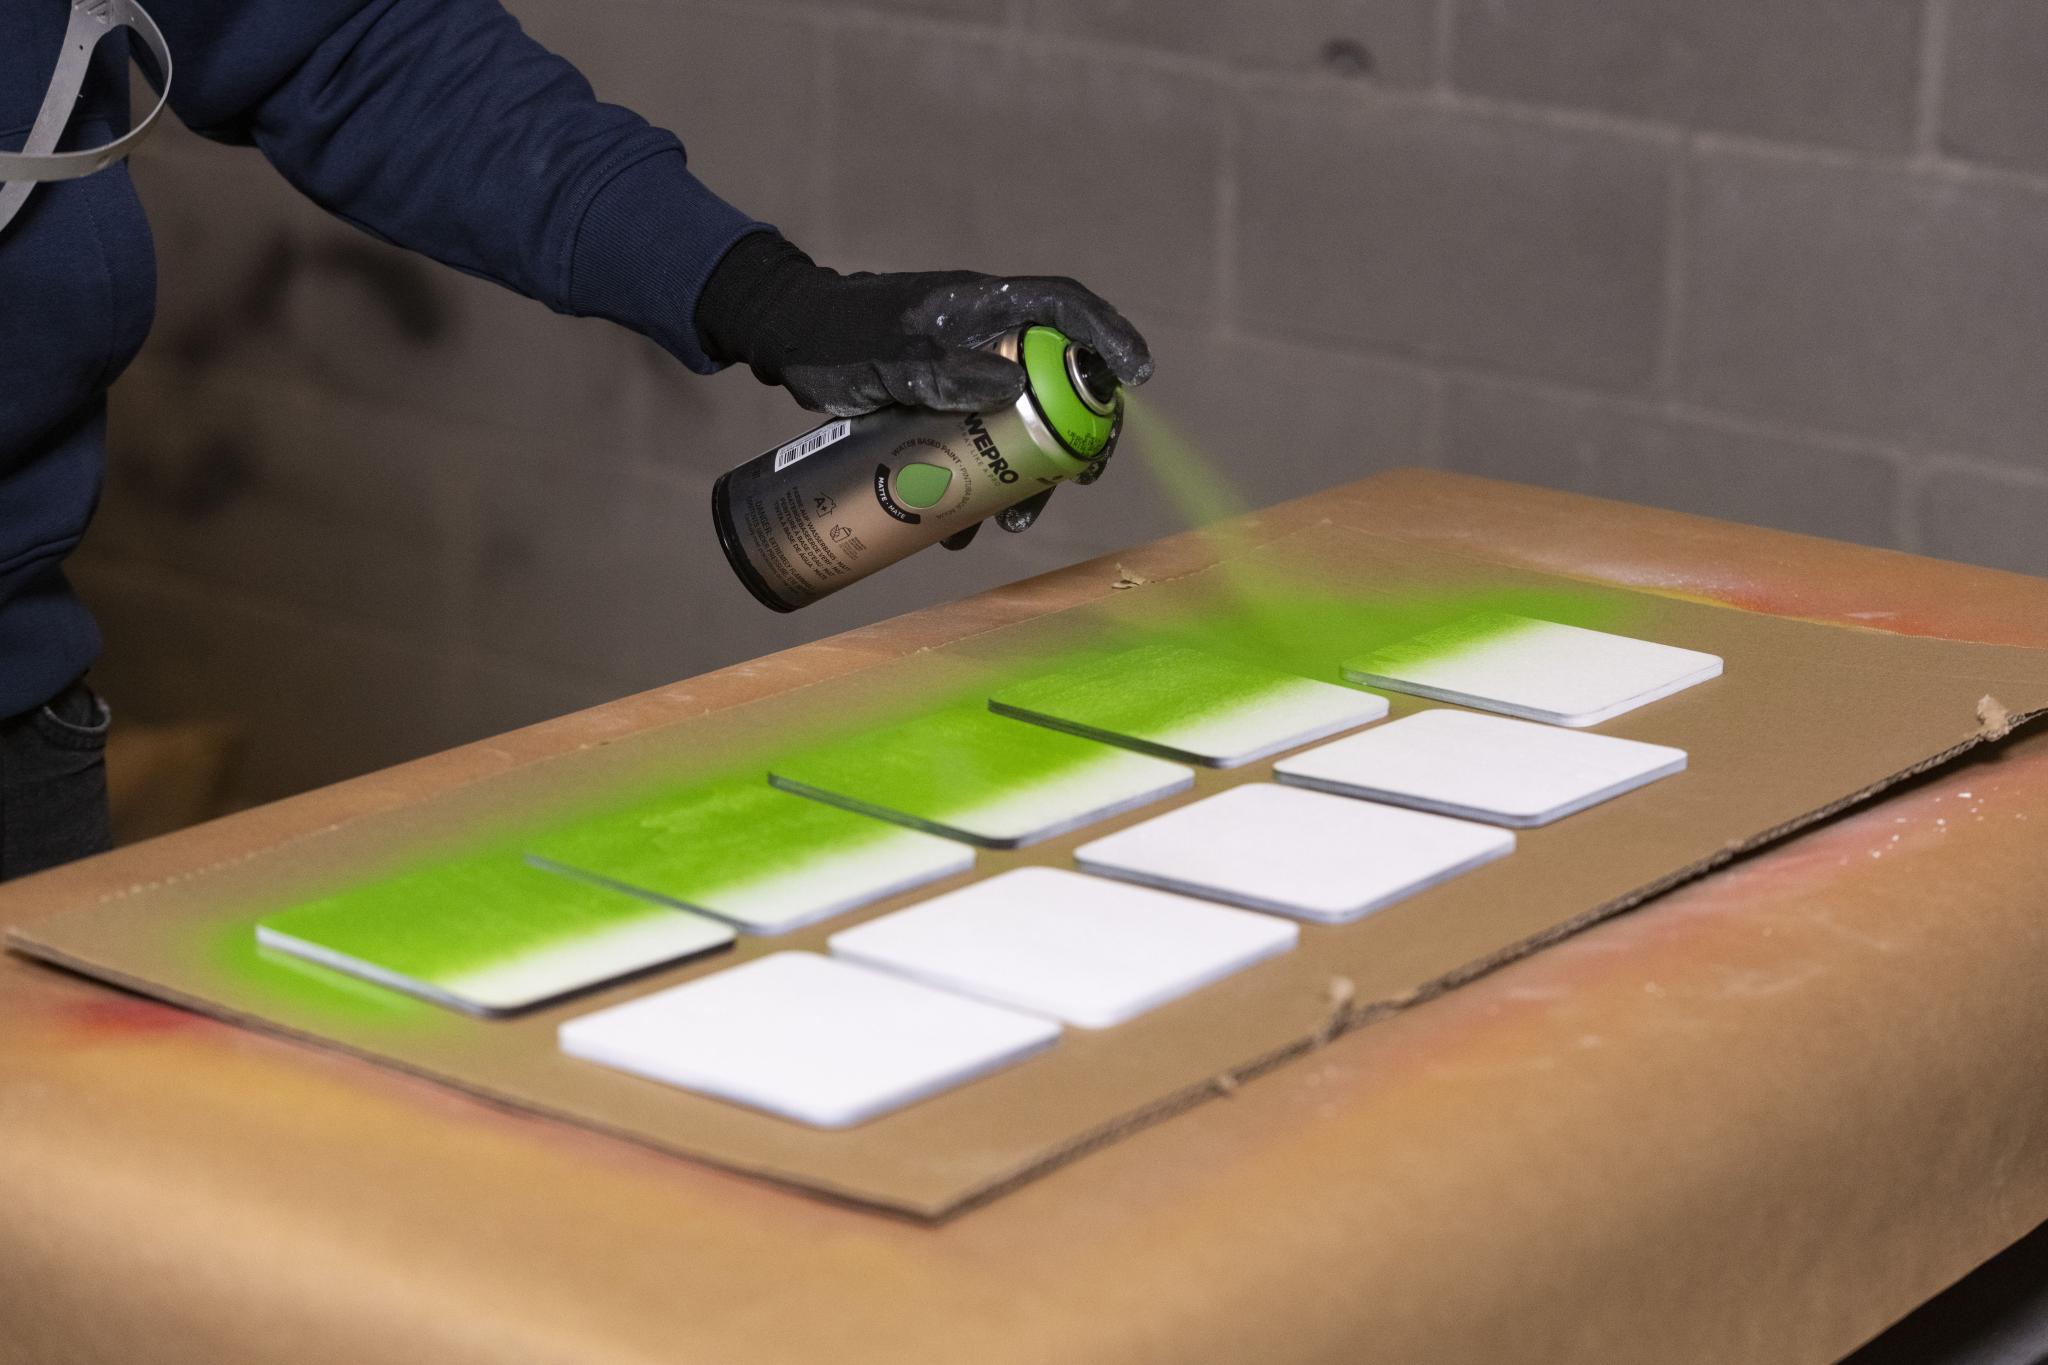
Of course, we decided to give the table an original and corporate touch by adding the MTN and WEPRO logos. To secure the handmade MTN ball stencil, WEPRO Repositionable Adhesive worked perfectly.
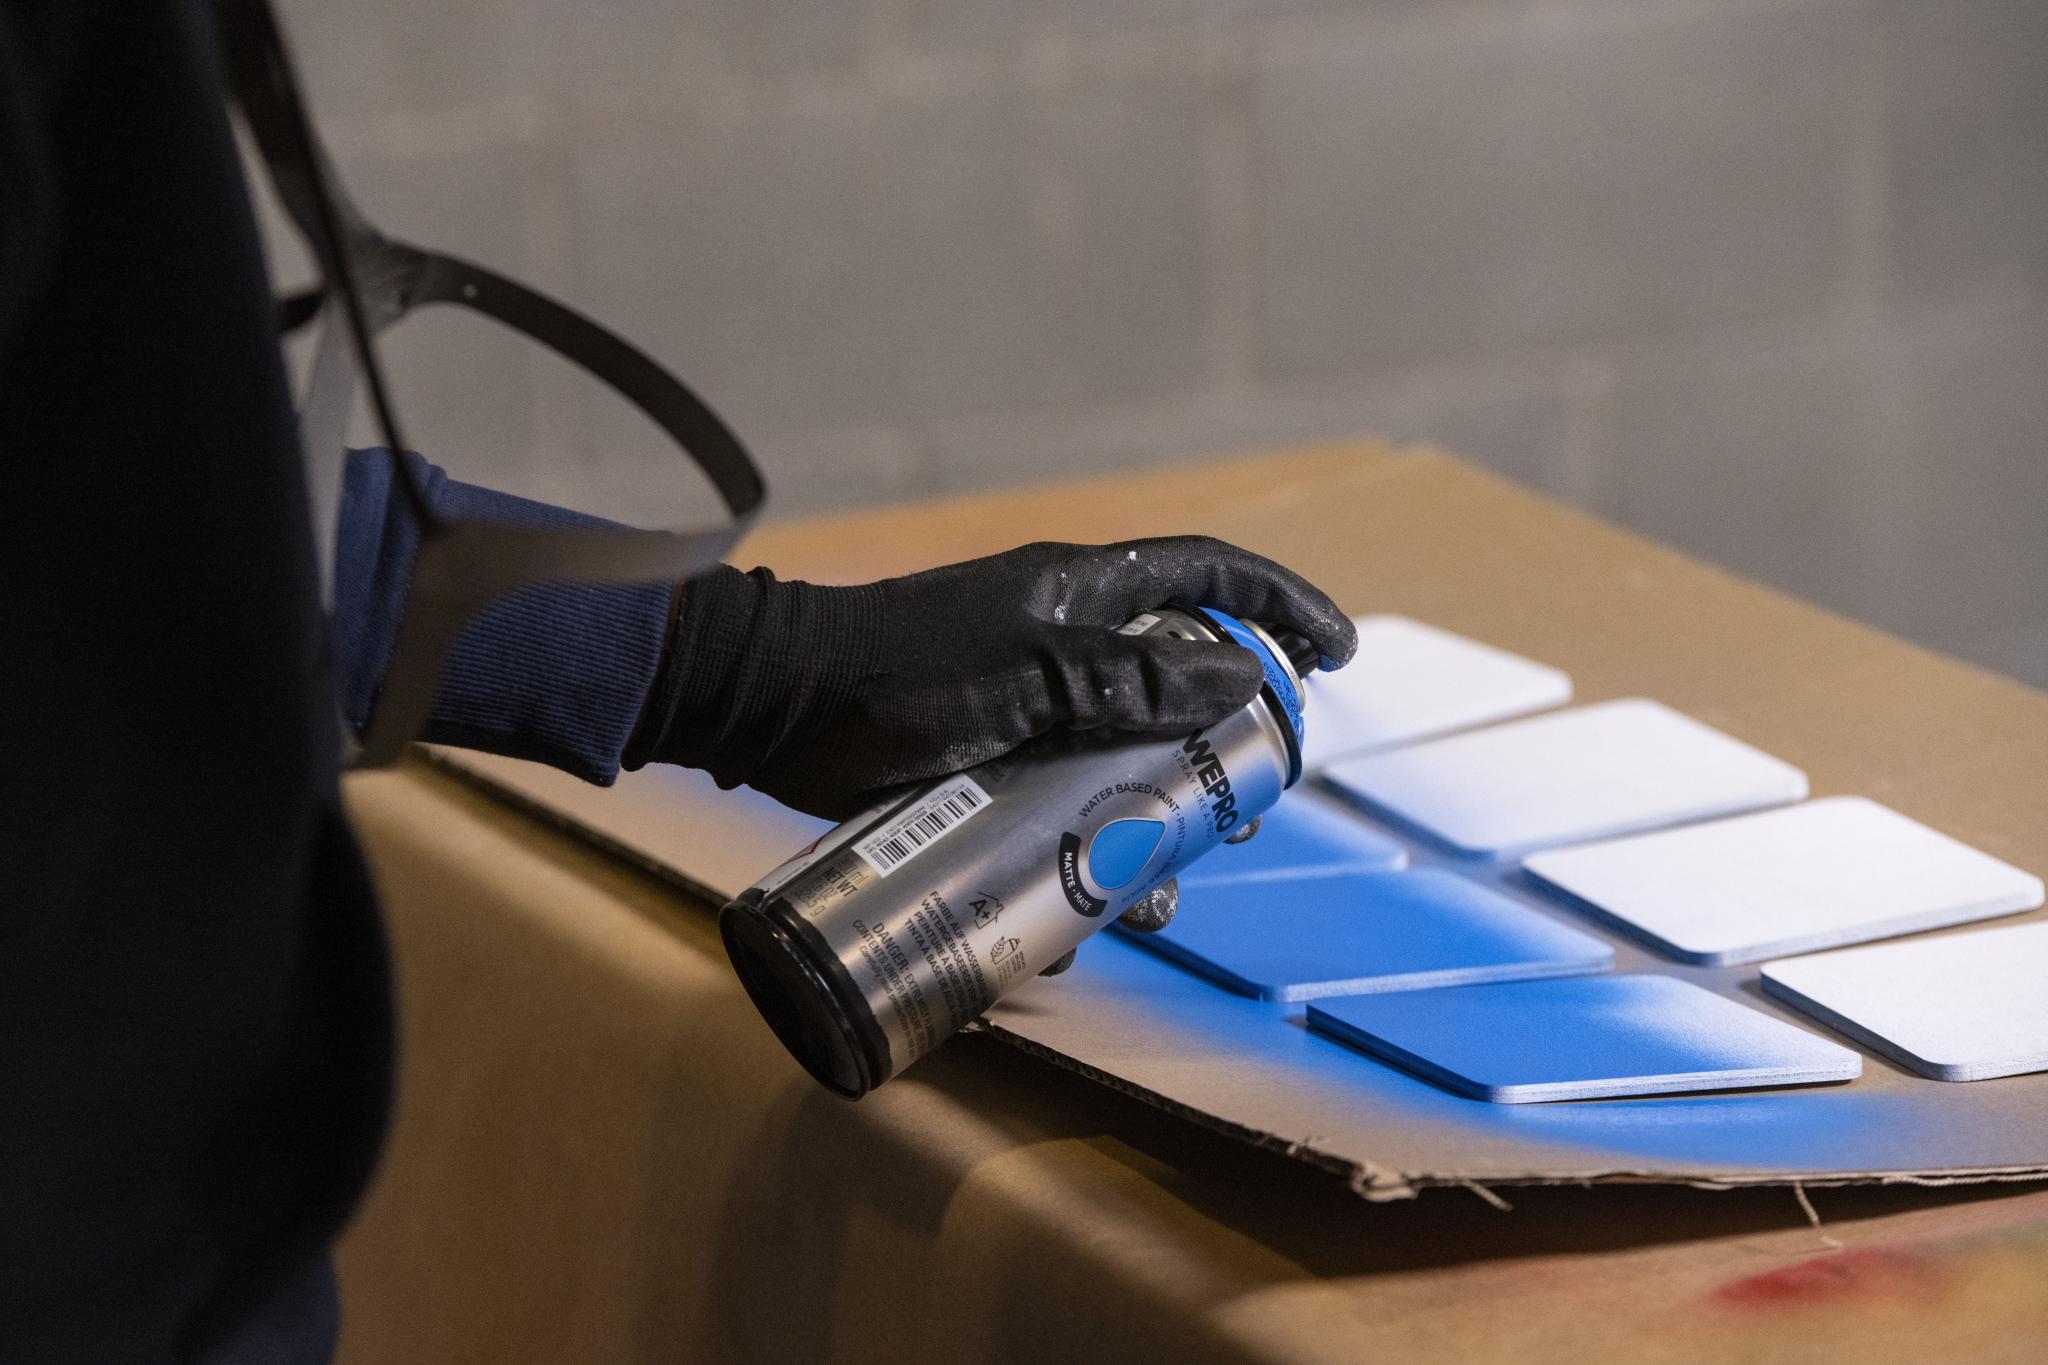
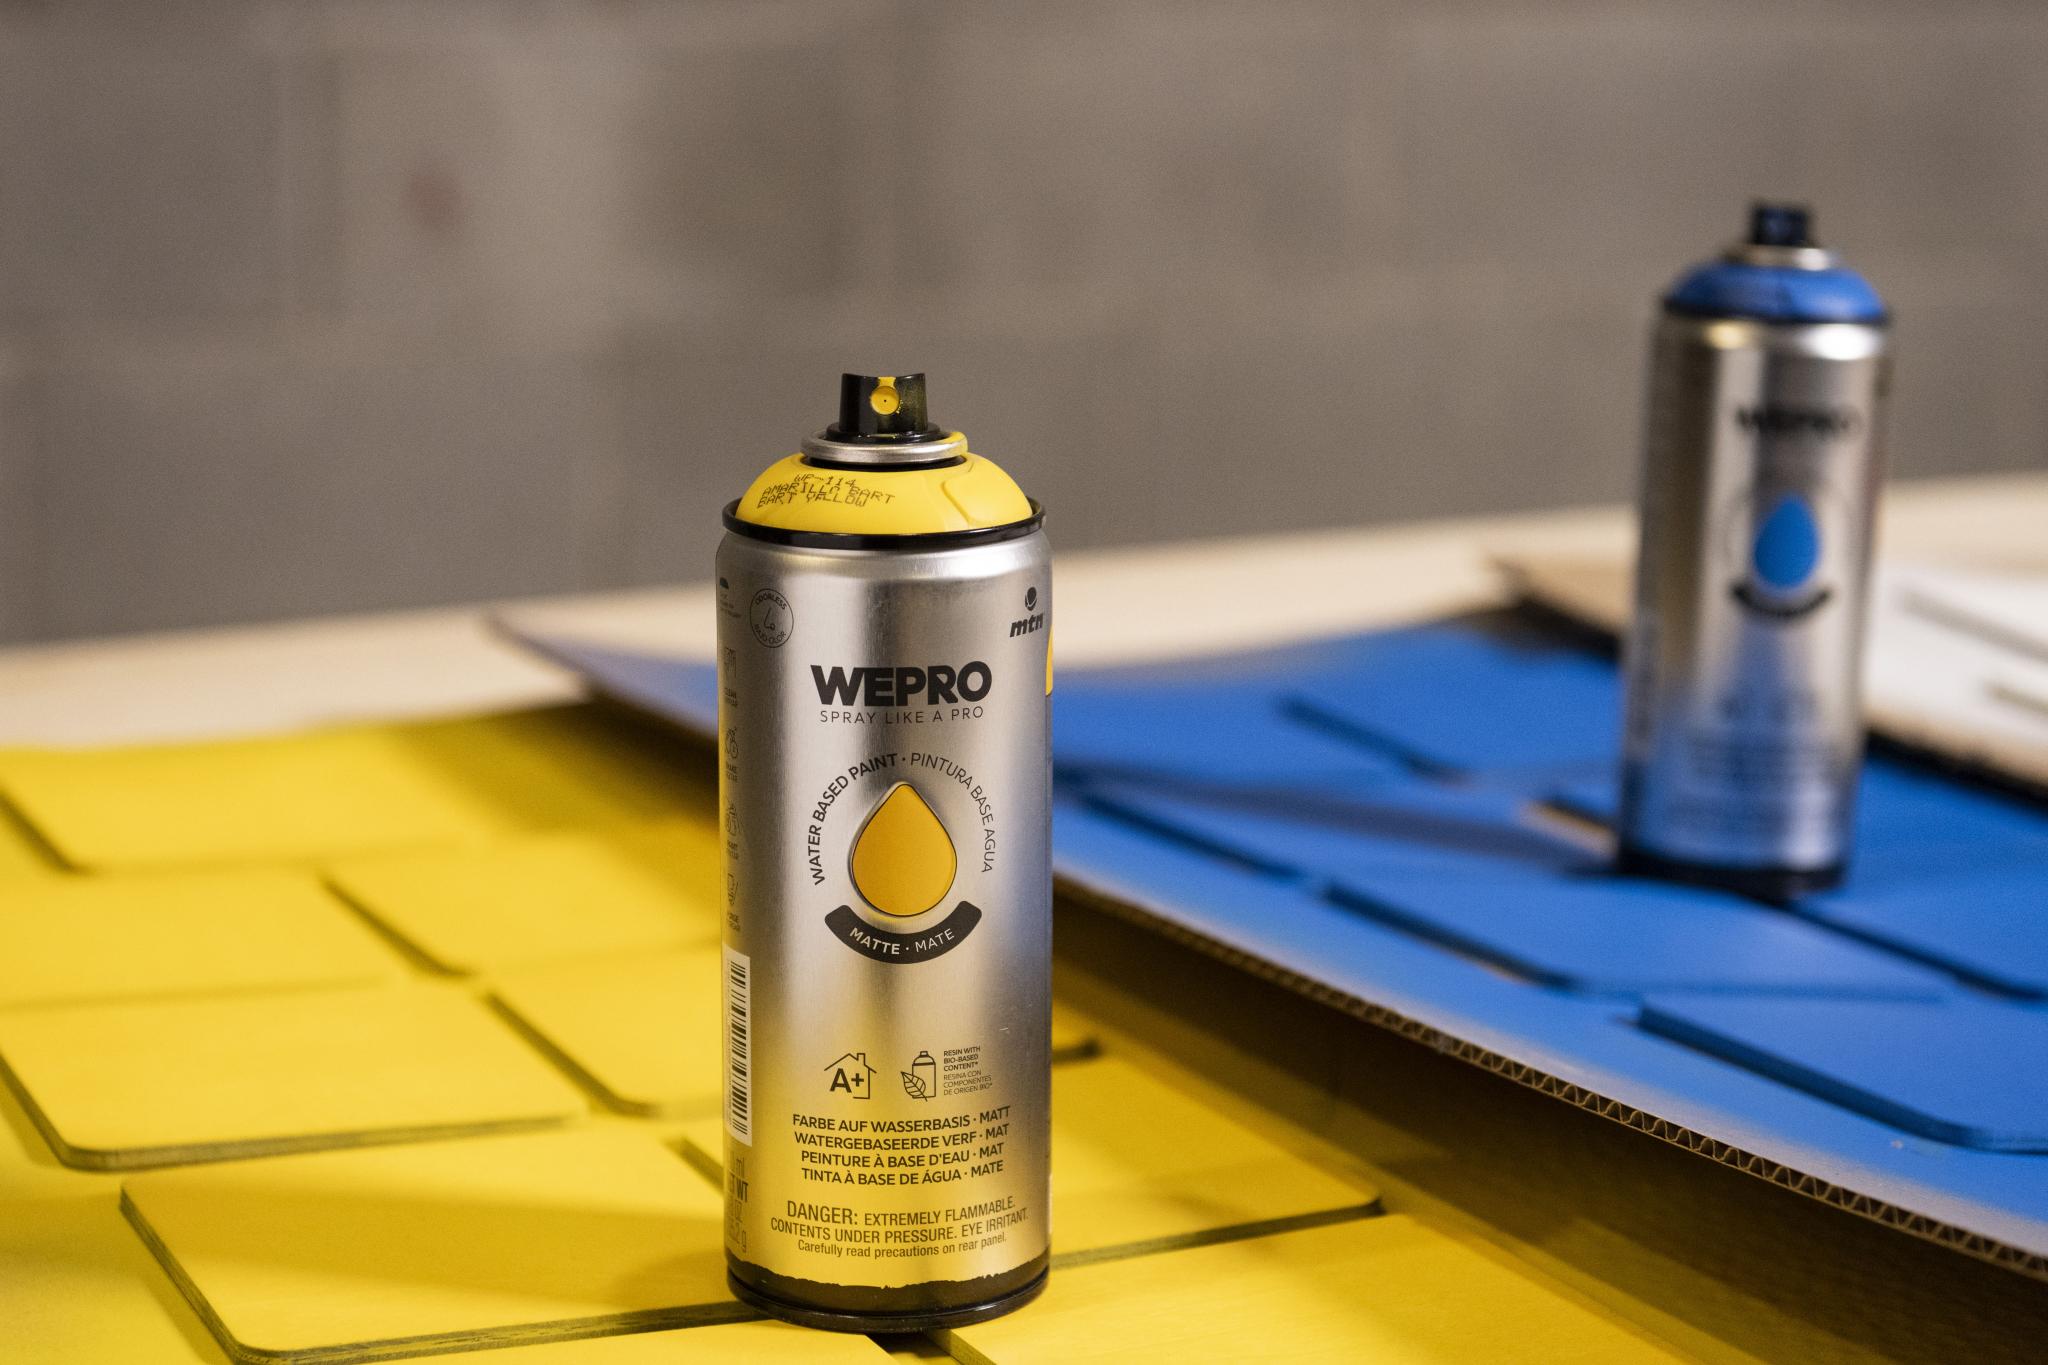
Naturally, we painted these elements using WEPRO All-Purpose Paint.
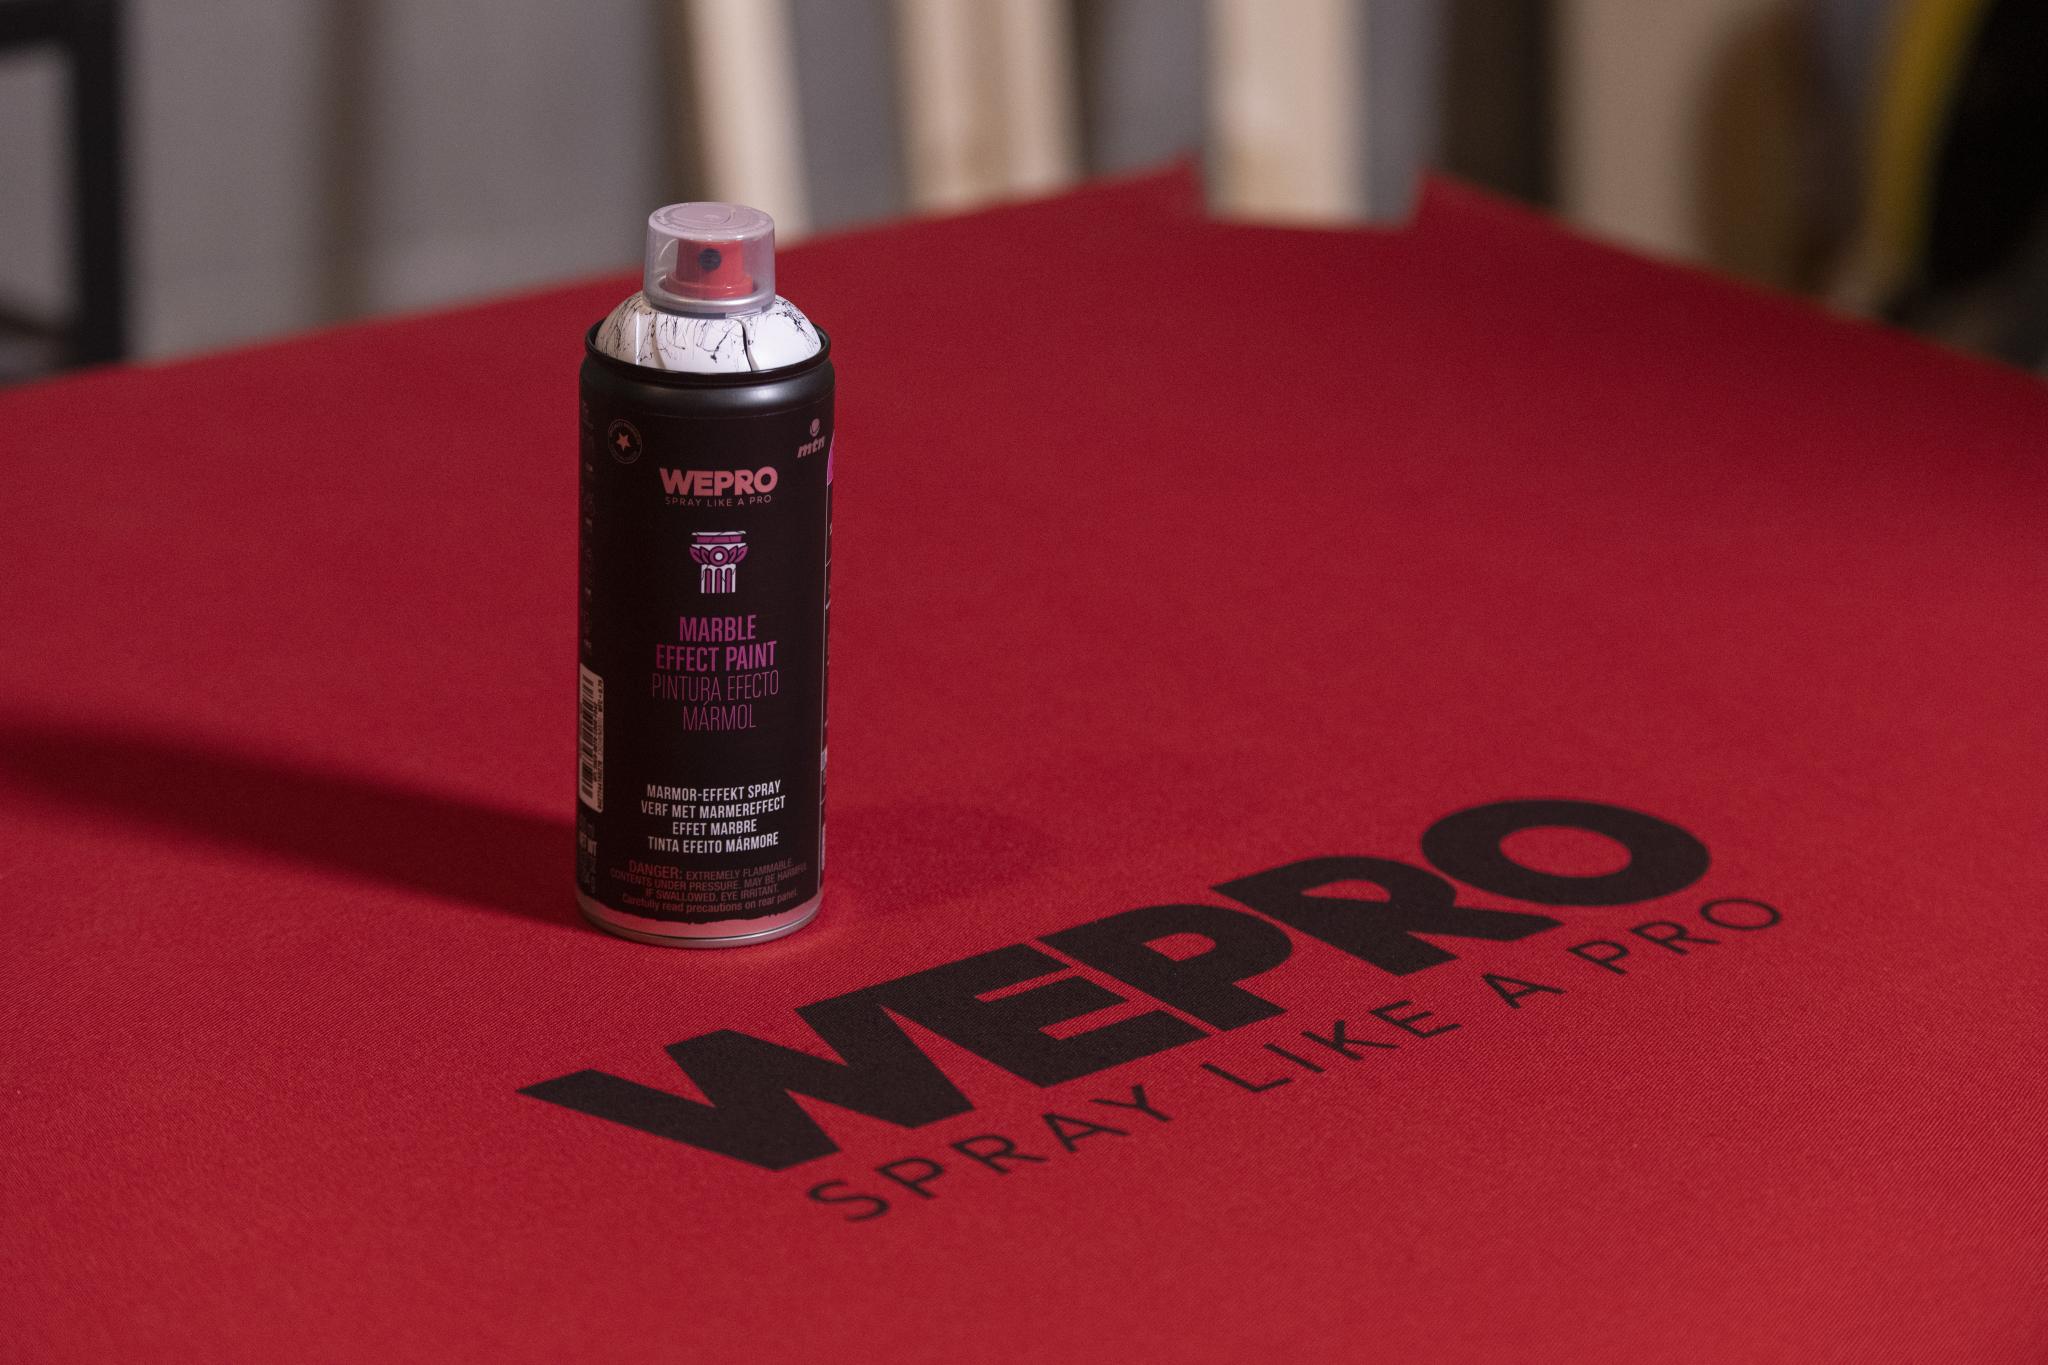
We wanted the WEPRO logo to take center stage in the project, so we painted it, also using a stencil, in the middle of the playing surface. To push the creativity a little further, we added the WEPRO Marble Effect Paint to the cloth. It might not be everyone’s taste, but we were really happy with how it turned out.
The proper way to build the rails would have been to incorporate a standard pool table rail system into the side beams and then upholster them with the same cloth. However, that would have pushed the project beyond our limits, so we solved it with moldings and a rubber edge that provided a similar rebound. To catch the balls, we added net pockets stapled to the underside of the table, and that was it.
The result was very positive. It’s not a professional pool table, but it’s our pool table, and it’s perfect for playing.
ShareMarch 05, 2026